Windows 10 is the most popular operating system in the world. Desktop computers either use Microsoft Windows or Apple OS X operating systems. In this tutorial, we will show you how to take screenshot using a new Feature, SNIP and SKETCH and edit the same.
Take Screenshot and Edit using SNIP and SKETCH in Windows 10
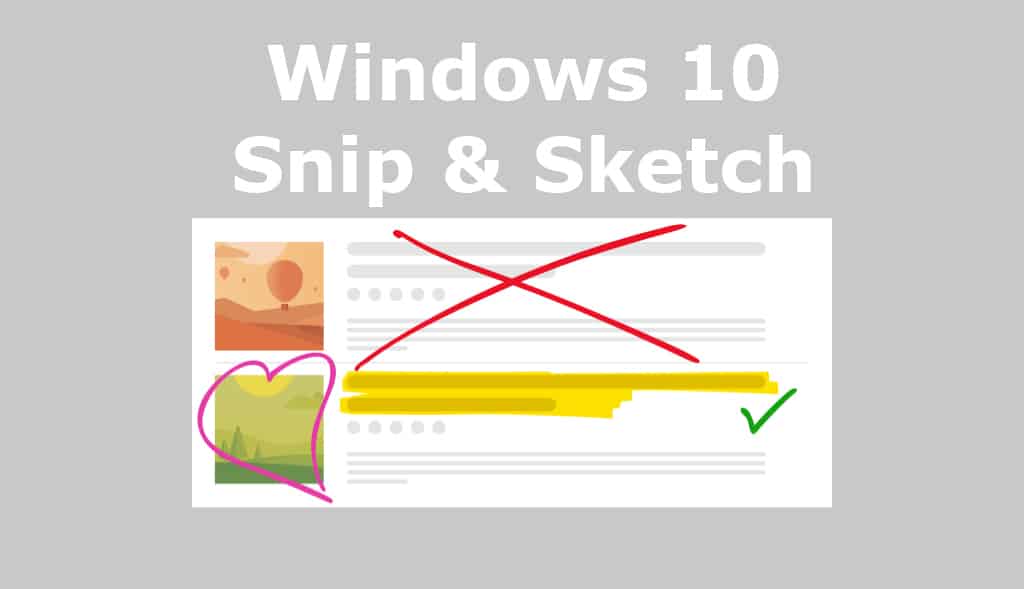
Students and Professionals often use Screenshots to document technical procedures and to create reports. Windows 10 1809 edition has introduced a new feature called Snip and Sketch application or feature. Snip is taking Screenshot. Sketch is painting on top of the captured Screenshot.
Taking screenshot is nothing but capturing what is displayed on PC or Phone Screen and save as an Image file like JPG or PNG.
Windows 10 Screenshot Shortcut – Snip and Sketch Shortcut
Three keys combination Window Key + Shift Key + S Key allows you to comfortably take screenshot of your dimension, shape or size manually and edit the same using a MS paint like editor. This shortcut saves your time in taking screen first and editing in the next step.
1. Traditional Way of Taking Screenshot and Edit
Step 1: Using PrintScreen Button or Alt + PrintScreen Button combination, take one Screenshot. It is copied to Clipboard by default.
Step 2: Open MS Paint or any other Paint Application and directly Paste from Clipboard. Draw anything like Red Circles or Red Rectangles etc. Finally You save your Screenshot for later consumption in the form of inserting into Documents.
2. Using Snip and Sketch to Take Screenshot and Save
Step 1: Press WIN key + Shift Key + S Key to open Snip and Sketch app on the top of all windows like an Overlay. You see a toolbar at the top most portion of window or screen.

There are 4 Buttons.
- Rectangular Clip
- Free Form Clip
- Full Screen Clip
- Close option

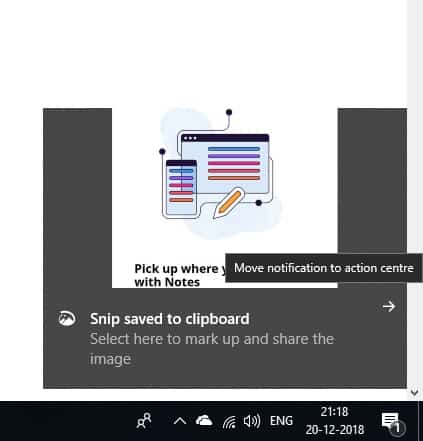
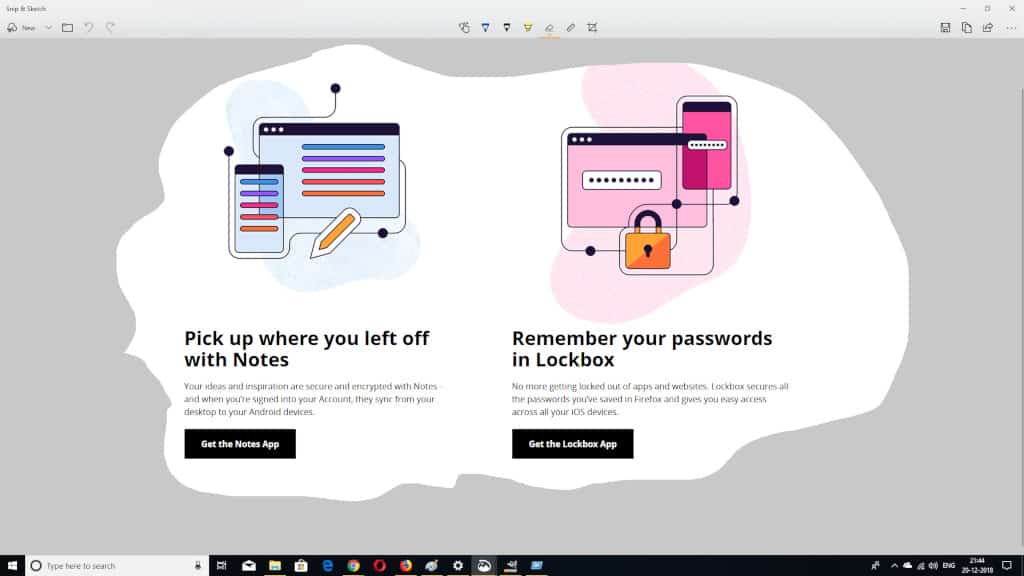
After choosing a Clip area say rectangular area, one clip will be saved to a Clipboard. You see one Notification on the right side. Just click on Bottom Right Message or Notification icon to see all Notifications. Click on the Notification Image with Screenshot. You will see a Picture Editor.

Step 2: Snip and Sketch Editor comes with below options.
- Ballpoint Pen
- Pencil
- Highlighter
- Eraser
- Ruler
- Protractor
- Crop

Save, Share, Print and other useful options are also present. Simply press the Floppy Save button to save the Screenshot to Hard Disk. This Snip and Sketch feature, saves your time and allows you to finish your editing and saving work in less time.
If you like this article , consider sharing it with your friends and colleagues. We shall meet in next article.
Check out our other Windows Articles too.
